Resources | AOPP Portal User Guide
Prove Wallet Ownership with Trezor
and the AOPP Portal
Regulatory changes require exchanges in some jurisdictions, like Switzerland and the EU, to verify their customers' wallet ownership in specific situations. Non-compliance with these regulations could lead to hefty fines or even the permanent closure of the exchange.
However, proving ownership over a wallet address via the AOPP Portal is quick and straightforward. Below, we explain how to do this with a Trezor.
Proving Self-hosted Wallet Address Ownership with a Trezor
Step 1
Connect your Trezor device to your computer and open the Trezor application.
Step 2
When you request your crypto exchange to withdraw or deposit from a self-hosted wallet, it will direct you to the AOPP Portal.
Once in the AOPP Portal, select Trezor as your wallet type.
Step 3
After selecting Trezor, the AOPP Portal will display the next steps required.
*If a pop-up appears, click Continue to open it to view the steps shown above.
A new Trezor tab will open in your browser. Please move to this new connect.trezor.io tab to proceed.
Step 4 (Only for first-time AOPP users)
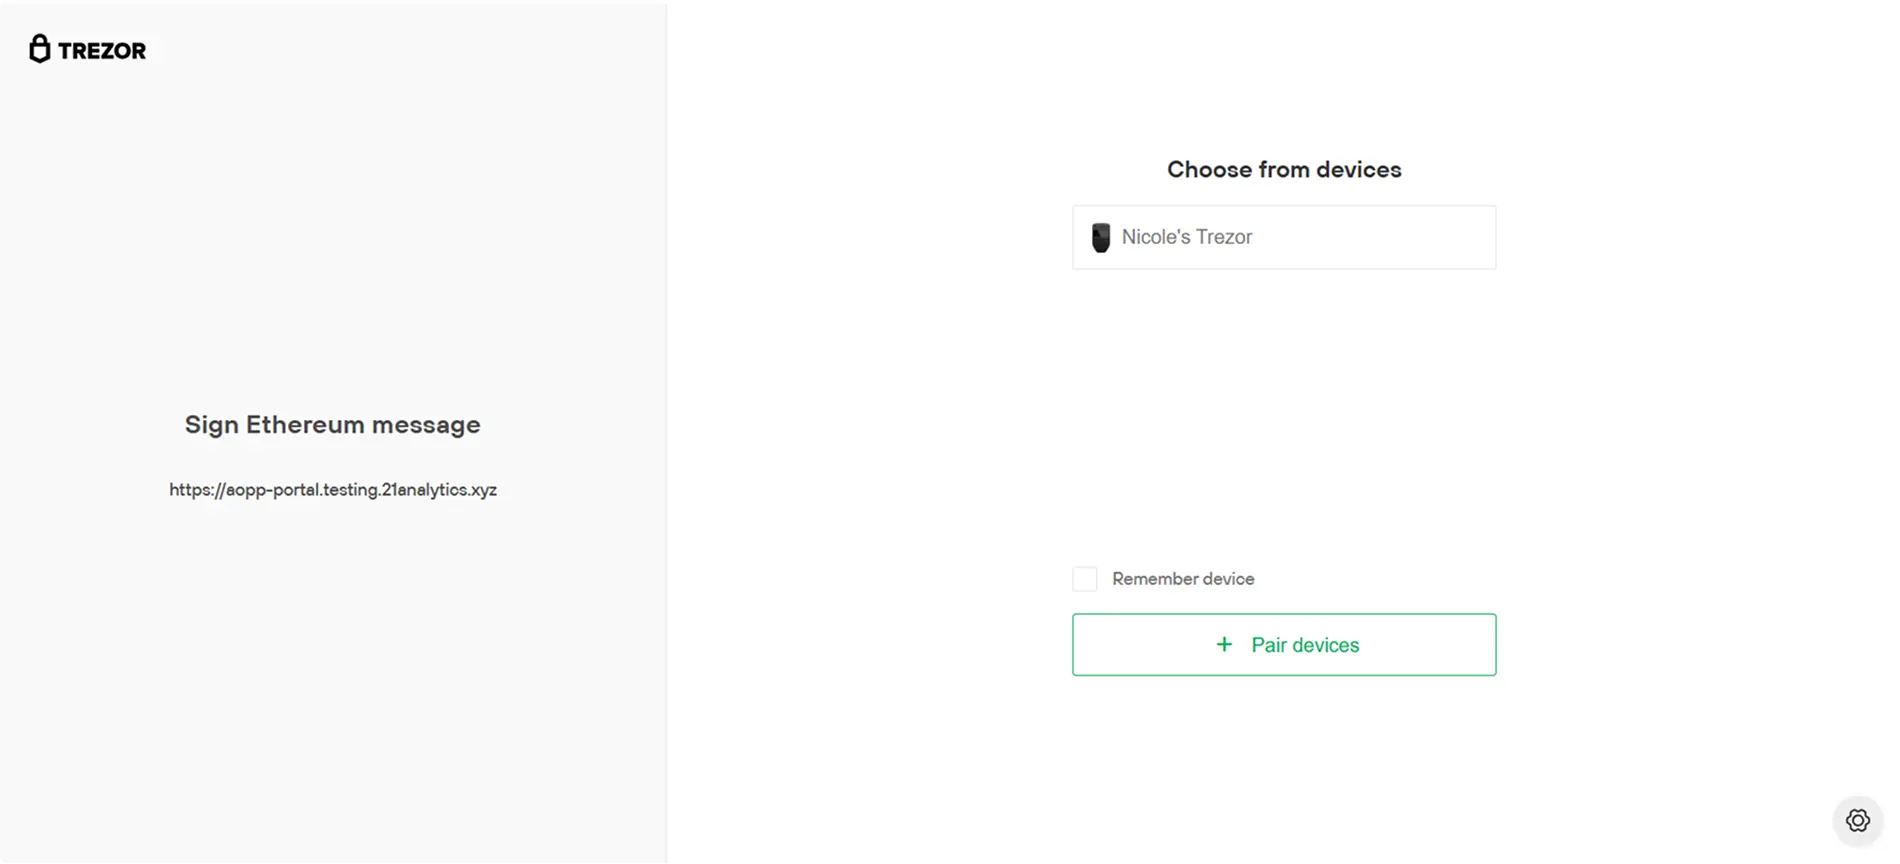
If this is your first time using your Trezor device with the AOPP Portal, a browser pop-up may ask you to allow “connect.trezor.io.” Choose TREZOR and click Connect.
Next, you will need to choose your device from the list of shown devices. If you intend to always use this device, select the “remember device” box, and you will not need to repeat this action in the future.
Step 5
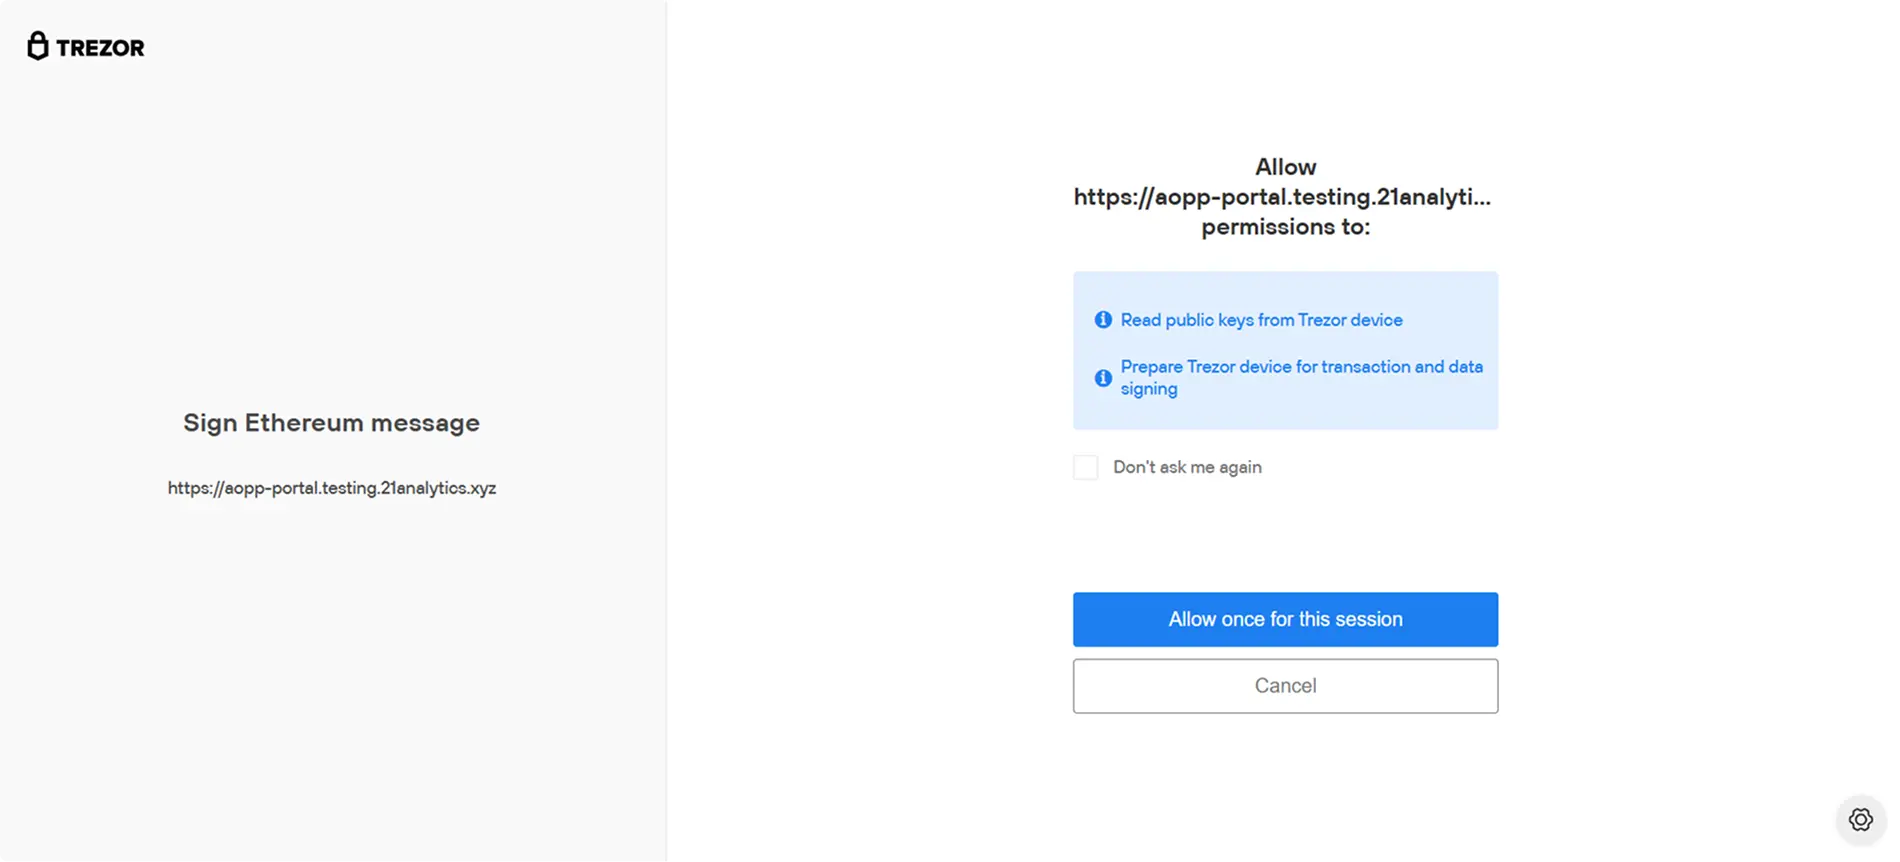
Next, you will need to allow the AOPP Portal to access your device. Click to allow.
Step 6
You will now be prompted to unlock your Trezor using your passphrase. Depending on your wallet settings, you may continue without a passphrase.
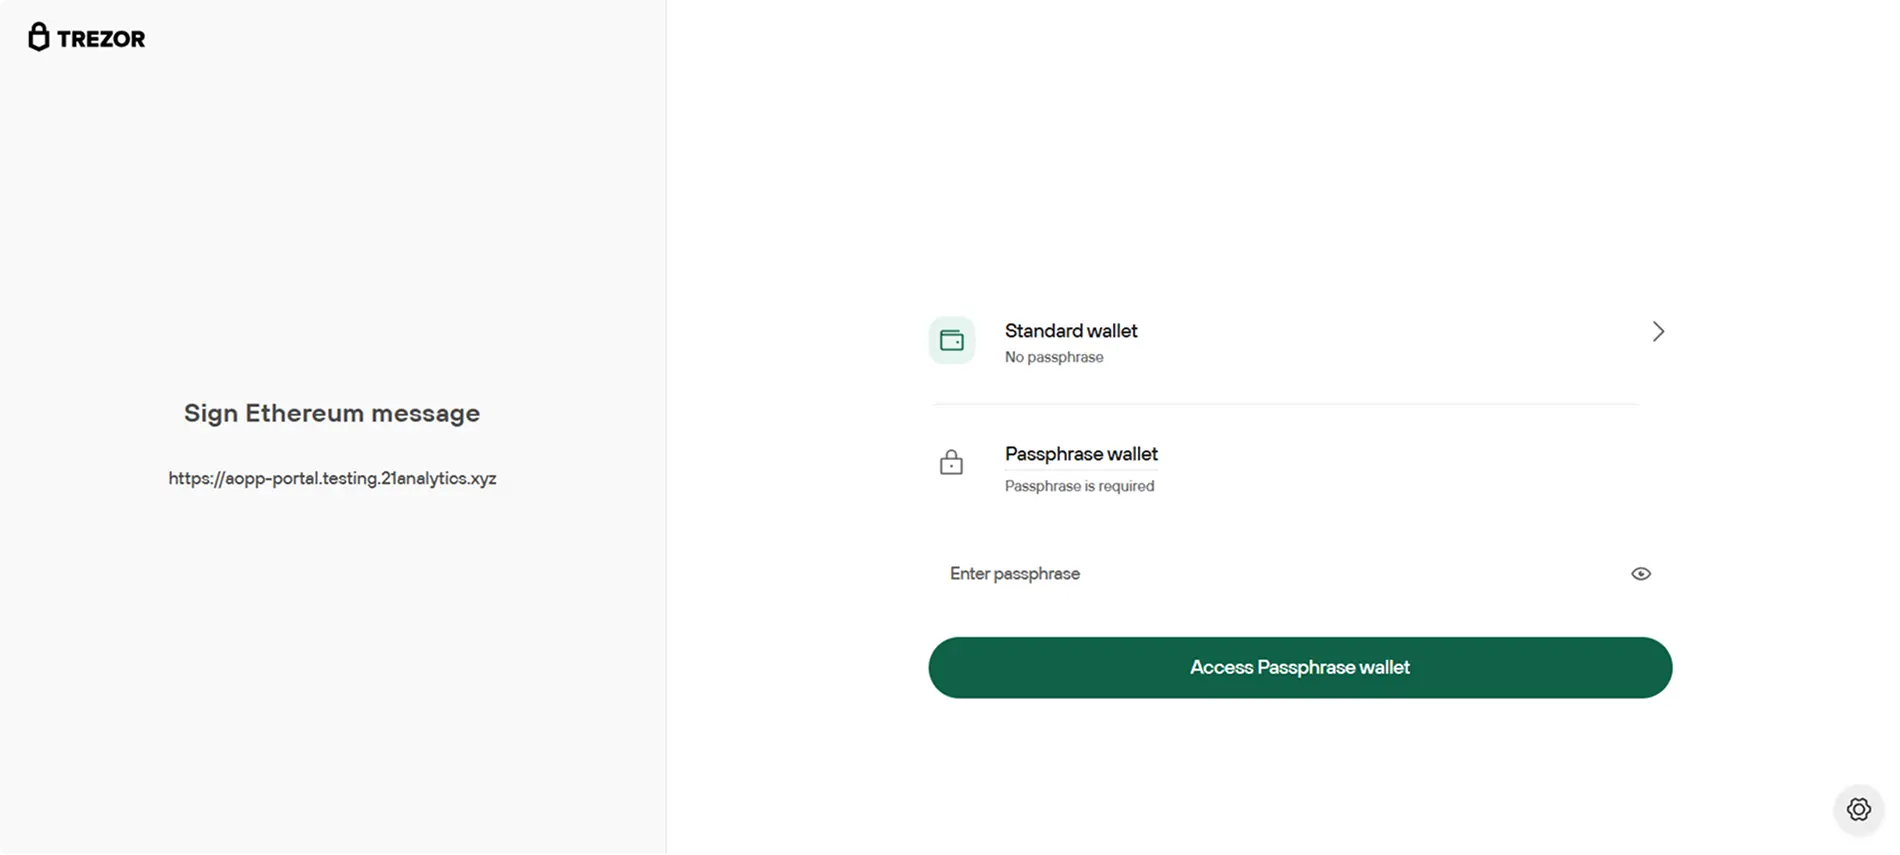
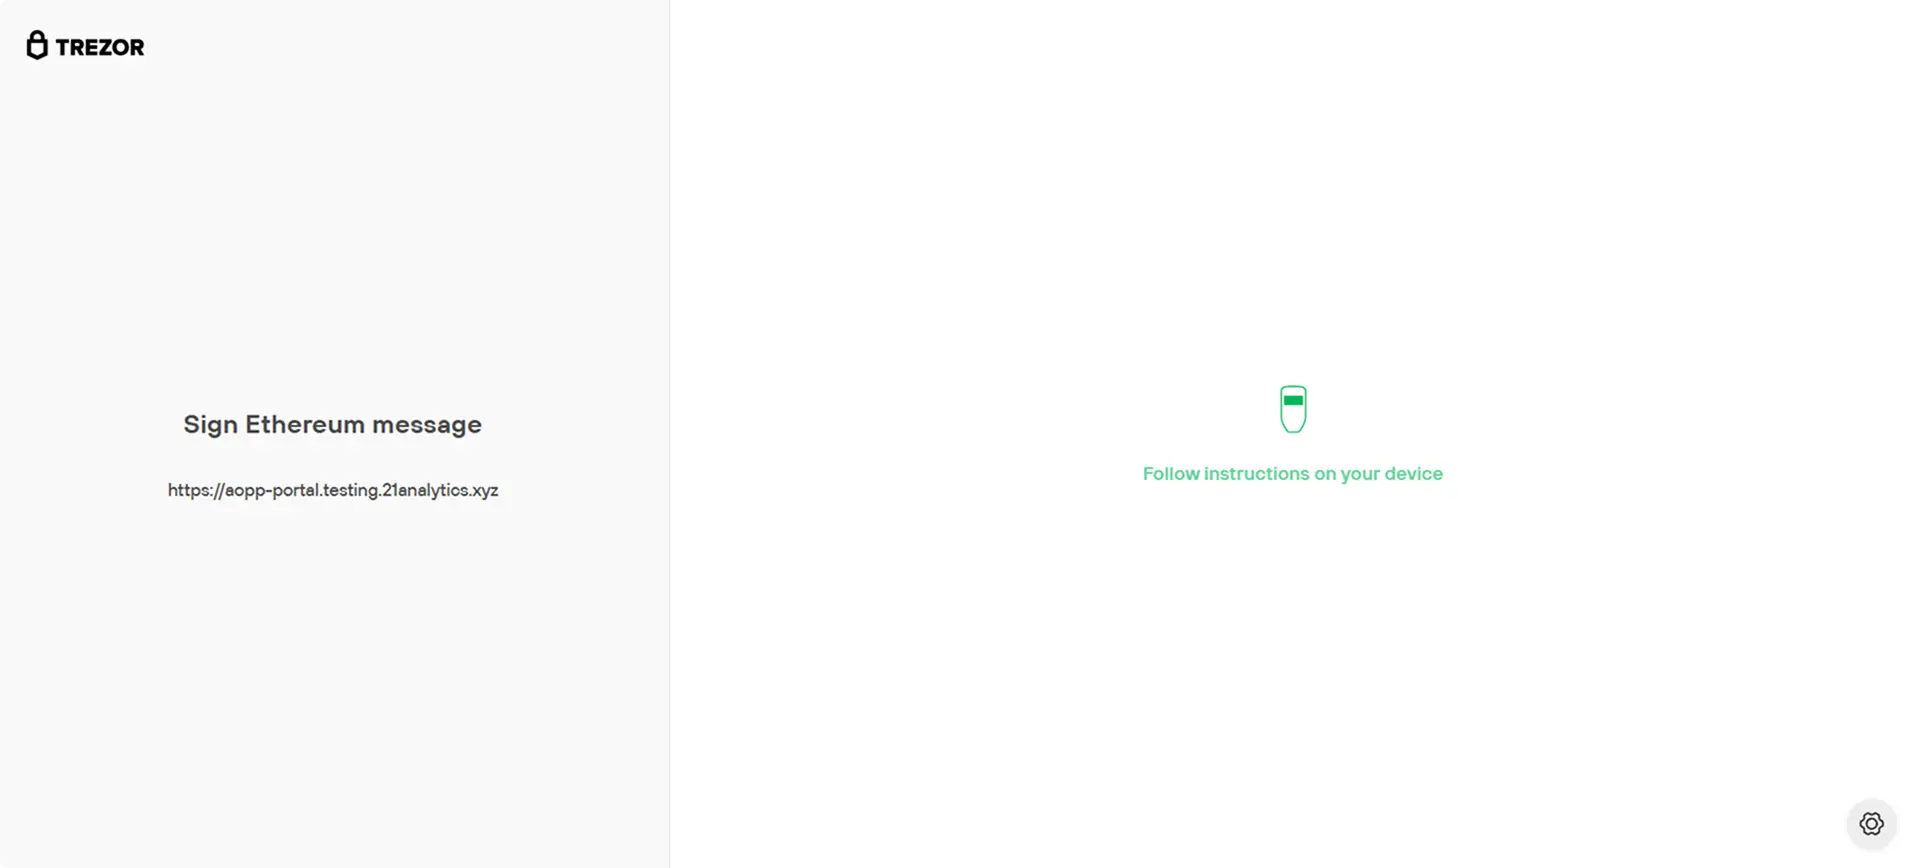
After selecting your appropriate option, you will be prompted to continue the process on your wallet.
Step 7
On your Trezor device, you will be prompted to confirm an address. Click confirm
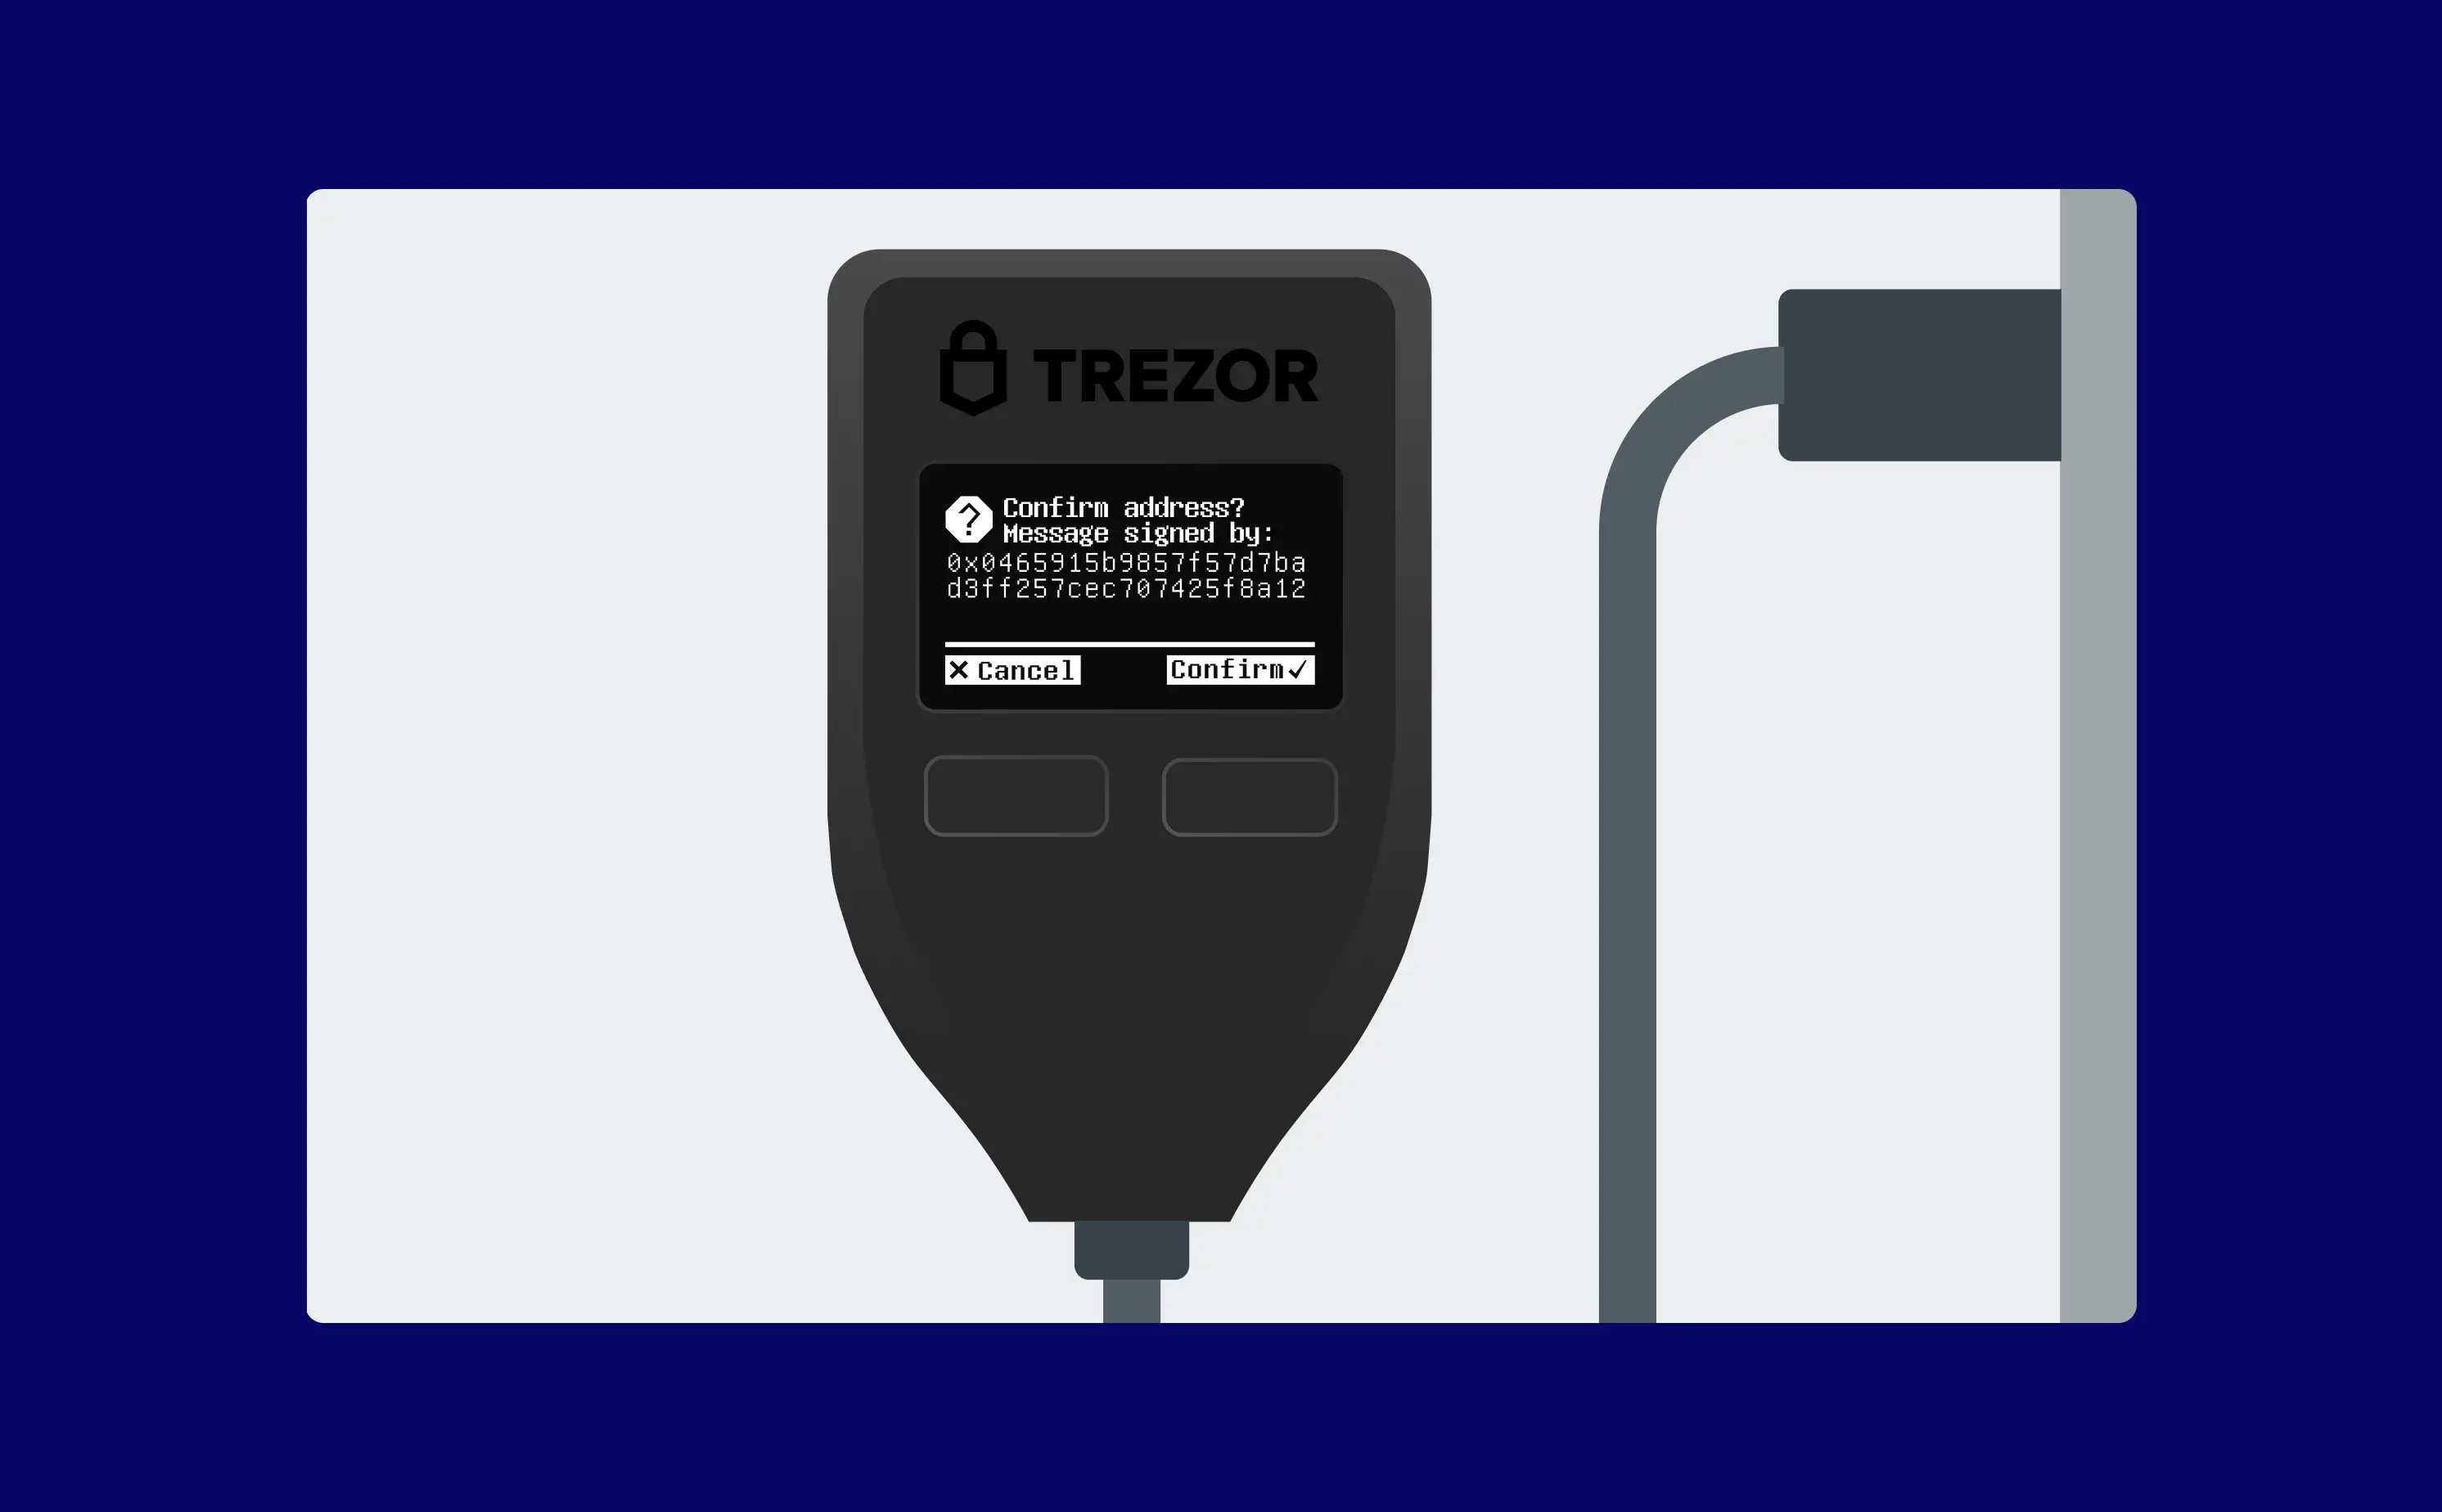
The signature you generated will appear. Click confirm again.

Step 8
After completing the process, the connect.trezor.io tab will automatically close, and a success message will be displayed. You can continue with the withdrawal or deposit in the exchange's environment.

What Is the AOPP Portal?
The AOPP Portal enables customers to easily prove ownership of a wallet address to their digital asset provider (for example, their exchange).
The AOPP Portal allows you to send a cryptographic signature to your digital asset provider, proving that you control a wallet address.
Is My Privacy at Risk?
No. Proving ownership of an address is just sending a signature (a text string) to your digital asset provider, which allows them to verify that you own a specific wallet address. This information is not published on any blockchain or distributed ledger. This data is heavily protected and not shared with any compliance technology, as your digital asset provider will store it on-premises.
Do I Need to Pay to Prove I Own my Wallet Address?
Proving ownership through the AOPP Portal is free, unlike other methods, like the Satoshi Test, which incurs costs, such as the mining fee to perform a microtransaction.
After I Prove Ownership, Where Does My Proof Go?
Within milliseconds of proving ownership via the AOPP Portal, your proof is automatically sent to your exchange. Moreover, only your exchange will have access to this proof, ensuring there is no leakage of the information to a distributed ledger or any other system.
Can My Exchange Access The Coins In My Self-hosted Wallet?
No. Your exchange, as well as any other party, can only access your coins in your self-hosted wallet if you hand them your private key.
In an AOPP verification, instead, you use your private key to sign a message and share only that signature, which allows verification without any insight into your private key.